terracotta tiles

Cleaning & Sealing Terracotta Tiles in Ogbourne St. Georges

Cleaning & Sealing Terracotta Tiles in Ogbourne St. Georges

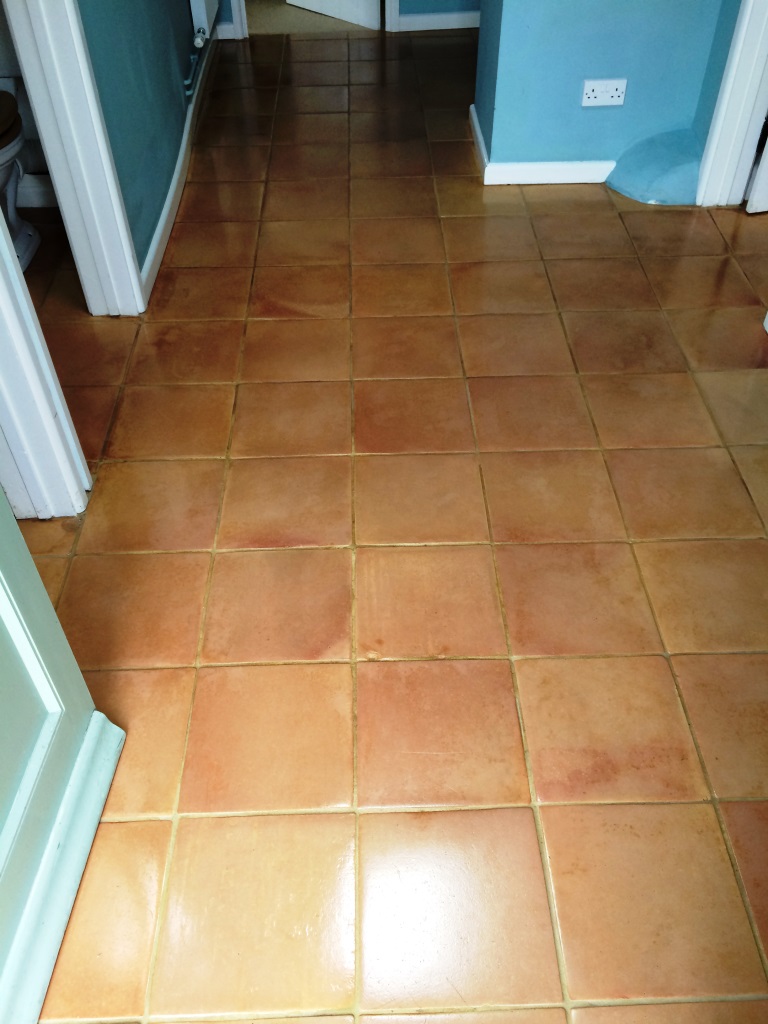
The owner of this Terracotta tiled floor installed in a house in the village of Osbourne St. Georges several years earlier contacted us as the floor had become ingrained with dirt and was now proving impossible to keep clean. We popped round to take a look and ran a small test clean to show what could be achieved, the test area came up really well and we were immediately booked to do the rest of the floor.

Terracotta Tiled Floor Before Cleaning in Osbourne St. Georges

Terracotta Tile Cleaning

We started by smothering the floor in a dilution of Tile Doctor Pro-Clean and left it to dwell for about twenty minutes. Once the dwell time had been reached we scrubbed the grout lines by hand with a grout brush before scrubbing the whole floor thoroughly with a black pad fitted to a rotary machine. The cleaning solution soon became soiled with the released dirt and was removed the using a wet vacuum and rinsing with cold water.

At this point it became apparent that the edges needed attention, the machine always struggles here so we used a stiff hand brush to remove the ingrained dirt and also some paint spots with the aid of a razor edged floor.

Once we were satisfied we had removed all existing dirt and sealer we rinsed again thoroughly with clean water and a scrubbed with a deck brush several times to make sure we had removed all traces of cleaning product. The floor was then dried as much as possible using a wet vacuum and left to dry agreeing to return a week later to seal the floor.
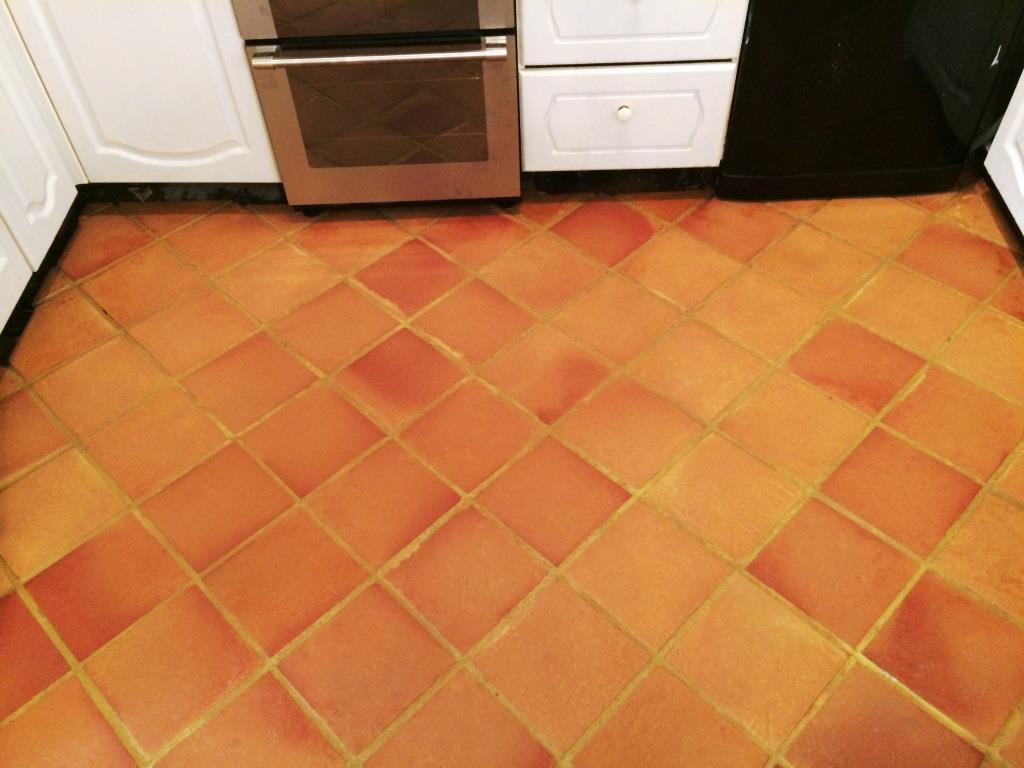
Terracotta Tiled Floor After Cleaning in Osbourne St. Georges

Sealing Terracotta Tiles

Upon our return we tested the floor was dry with a moisture meter, the test came back fine so we proceeded to seal the floor using six coats of Tile Doctor Seal and Go which works really well on Terracotta and adds a nice subtle sheen to the tile.

Terracotta Tiled Floor After Sealing in Osbourne St. Georges
The customer was so happy to have her floor back to the appearance when it was first laid and before leaving I give her some cleaning advice to help prolong the life of the sealer. It’s a fact that a lot of commercial tile cleaning products are designed for cleaning ceramic tiles and contain acid which slowly erodes the sealer so to maximise the life of the sealer use a low alkaline/neutral PH product such as Tile Doctor Neutral Tile Cleaner.

Maintaining Terracotta Tiles in Osbourne St. Georges

Cleaning & Sealing Terracotta Tiles in Ogbourne St. Georges Read More »

Cleaning Wax and Oil from Terracotta Floor Tiles in Urchfont

Cleaning Wax and Oil from Terracotta Floor Tiles in Urchfont

This customer in rural village of Urchfont contacted us because a competitor had attempted to restore their floor but ended up ruining it due to the over application of linseed oil which had left it both brown and sticky. I warned the customer that we may not be able to get rid of the Linseed oil as we don’t know what products had been used previously however they were happy to proceed and they booked us in immediately after conducting a successful test.

Terracotta Tiled Floor Urchfont Before

Cleaning Oil and Wax from Terracotta Tile

We started by smothering the floor with Tile Doctor Remove & Go leaving it to dwell and soak into the floor. After thirty minutes the product was scrubbed into the grout lines using a stiff grout brush. We then attached a black scrubbing pad to a rotary machine and set about trying to bust through the top layer of wax and oil. It became apparent that this particular terracotta floor was very porous indeed and that it was going to take quite a few attempts to got a section clear we rinsed the tiles thoroughly and started again. This process was repeated every five square metres so that the slurry didn’t drop back into the tile. Once we were satisfied that we had removed as much of the wax and oil as possible we then used a steamer on the areas that had an increased amount of linseed oil and scrubbed vigorously with a deck brush until happy. Once the entire floor was clear we rinsed the area thoroughly with fresh water to remove any trace of cleaning product using a wet vacuum to remove as much of the water as possible before leaving it to dry for 7 days.

Sealing Terracotta Tiles

Upon our return we tested the floor using a damp meter, this is important as adding sealer to a damp floor can have unexpected results. The test was OK so we began to seal the floor with Tile Doctor Seal and Go eventually applying nine coats until the tile was fully sealed. You can see from the photographs below that the floor looks much better and the sealer enhanced the look of the tile and will continue to protect it against day to day wear.

Terracotta Tiled Floor Urchfont Sealed
Our customer was over the moon with the result we had achieved even though not all the linseed oil could be removed due to its porosity.

Terracotta Tiled Floor Urchfont Sealed
 

Terracotta Floor Cleaned and Sealed in Urchfont

Cleaning Wax and Oil from Terracotta Floor Tiles in Urchfont Read More »

Deep Cleaning a Terracotta Kitchen Floor in Burbage

Deep Cleaning a Terracotta Kitchen Floor in Burbage

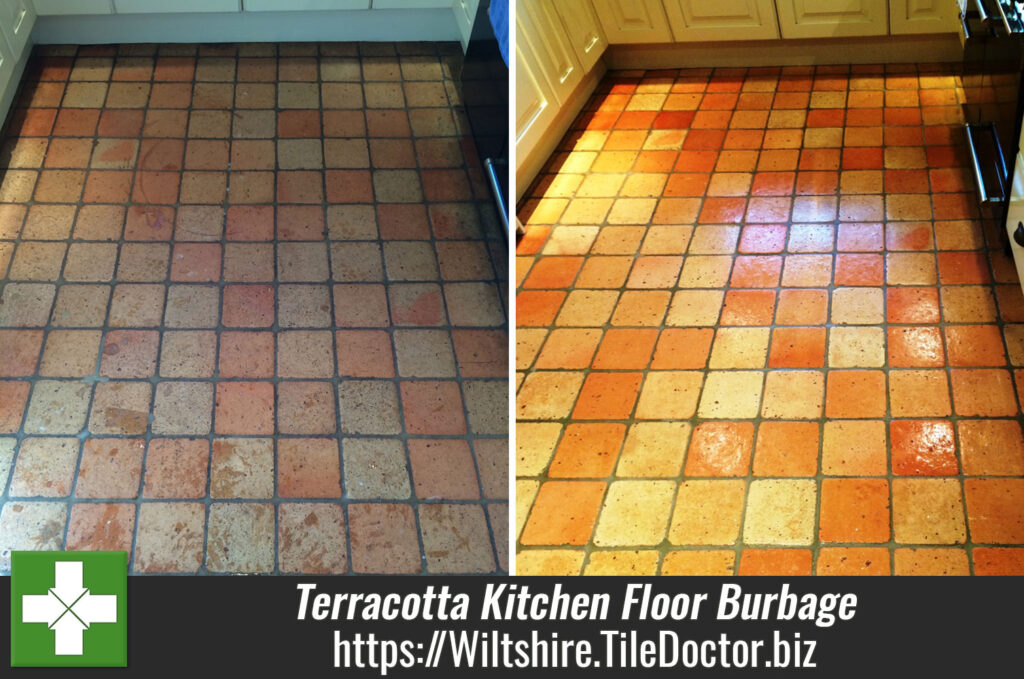
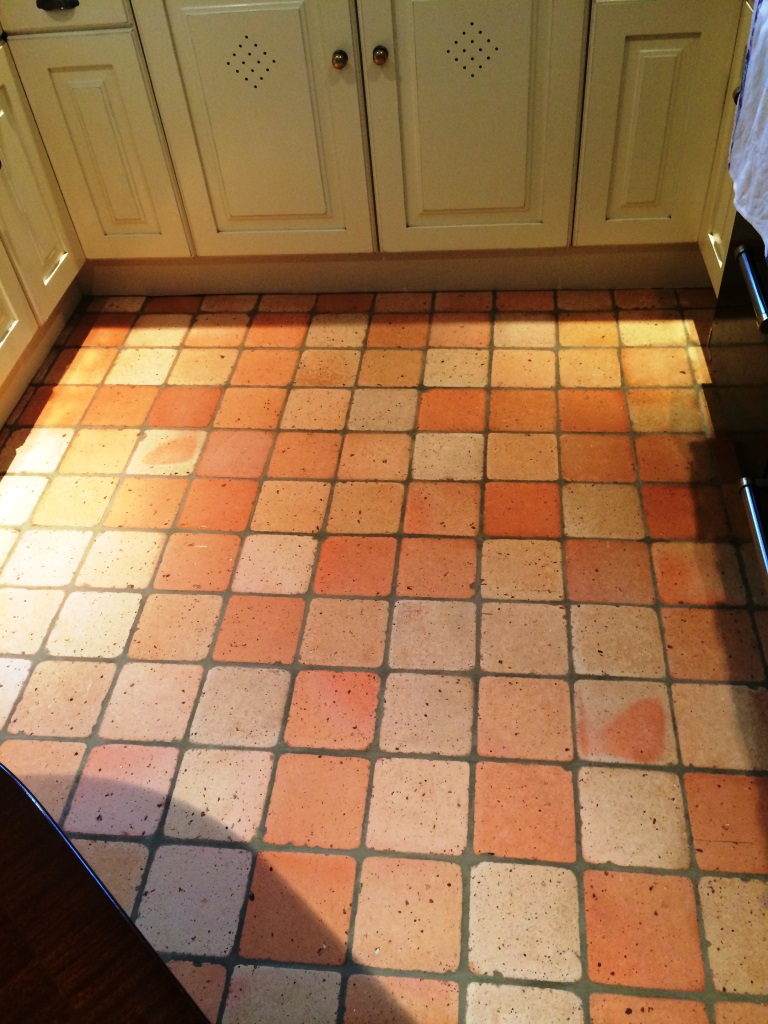
Some great photo’s below of Terracotta tiled floor in the kitchen of a house in Burbage which as you can see was overdue for a deep clean and seal.

Terracotta Tiled Floor Burbage Before Cleaning

Terracotta Tile Cleaning

The first job was to get the floor clean so it was covered in a strong dilution of Tile Doctor Pro-Clean which was left it to dwell and soak into the surface for about twenty minutes, this helps to soften and beak down any existing sealer and ingrained dirt and grime. The grout lines were then scrubbed clean with a stiff grout brush which was run along the grout lines before running a rotary floor machine fitted with a black scrubbing pad over the tiles several times to get them clean. Once satisfied with the condition of the floor the remaining soiled cleaning solution was removed using a wet vacuum and the floor rinsed several times with clean water with the aid of a deck brush due to ensure we had flushed out all the dirt from the Terracotta tiles which are quite porous. Once we 100% satisfied that all traces of cleaning product had been removed the floor was left to dry for seven due so we could be sure the Terracotta would be dry on our return.

Terracotta Tiled Floor Burbage After Cleaning

Terracotta Tile Sealing

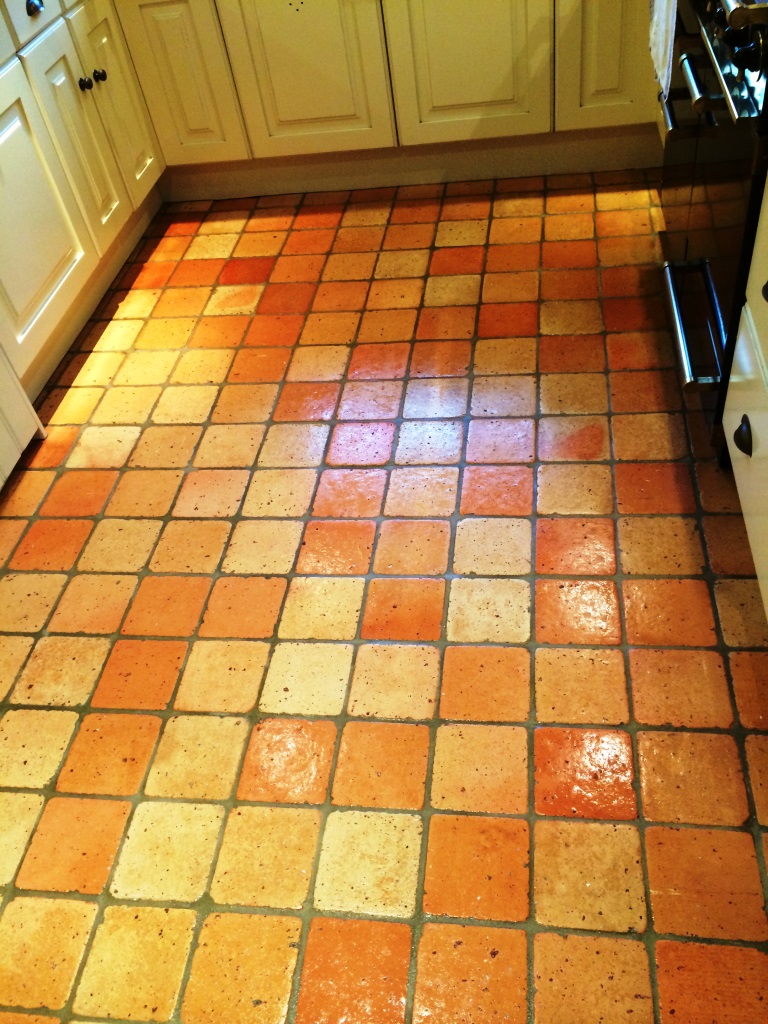
Upon our return we tested that the floor was dry enough to seal; Terracotta is very porous so it can take a while. Seven days had proved to be plenty of time and the test came back as fine so we sealed the floor first using a single coat of Tile Doctor Colour Grow which is an impregnating sealer that occupies the pores in the stone and also enhances natural colouring and the secondly with five coats of Tile Doctor Seal and Go which adds a nice subtle sheen to the floor.”

Terracotta Tiled Floor Burbage After Sealing
 

Terracotta Floor Deep Cleaned and Sealed in Burbage

Deep Cleaning a Terracotta Kitchen Floor in Burbage Read More »

Deep Cleaning Terracotta Kitchen Tiles in East Tytherley

Deep Cleaning Terracotta Kitchen Tiles in East Tytherley

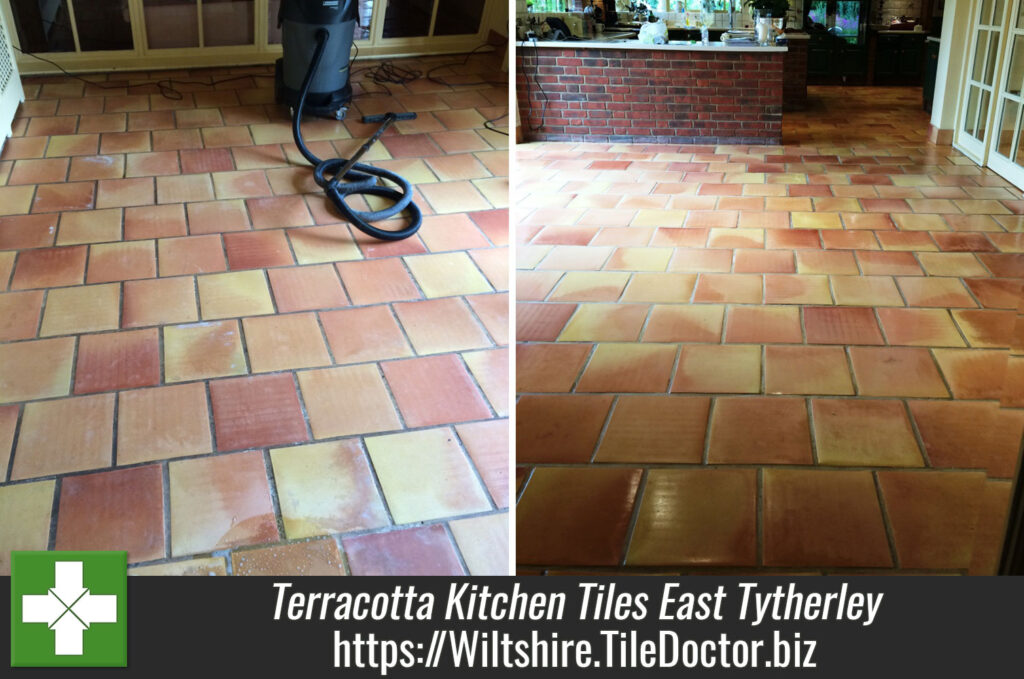
I was contacted by the owner of a Terracotta floor at a house in the old village of East Tytherley near Salisbury, the floor was in good condition and was just in need of a regular deep clean and seal with extra attention along the grout lines which had darkened, additionally there appeared to be evidence of efflorescence that would need attention.

Terracotta Tiles in East Tytherley Before Cleaning

Terracotta Tile Cleaning

We started by smothering the floor with a strong solution of Tile Doctor Pro-Clean mixed 50/50 with Nanotech Ultra Clean leaving it to soak into the tiles for twenty minutes to give it time to eat through any dirt and remaining seal.

The solution was scrubbed into the grout using a stiff grout brush followed by the use of a black scrubbing pad fitted to a rotary machine. We made sure each tile was scrubbed in this manner four times to remove all the dirt and remaining sealant. Then we removed all trace of slurry and product by using clean water and a deck brush several times using a wet vacuum to remove the water.

To treat the efflorescence we then applied a dilution of Tile Doctor Grout Clean-up to the affected parts of the floor and used a stiff deck brush to remove the salts again rinsing the floor with clean water afterwards and removing it with a wet vacuum. We then left the floor to dry for ten days as Terracotta is very porous and can take time to dry.

Terracotta Tiles in East Tytherley After Cleaning

Terracotta Tile Sealing

When I returned ten days later the first thing was to test the floor with a damp meter which confirmed the floor was dry and good to seal which was done using ten coats of Tile Doctor Seal and Go which will protect the tile from stains going forward and also adds a nice subtle sheen to the terracotta.

Terracotta Tiles in East Tytherley After Sealing
 

Terracotta Floor Deep Cleaned and Sealed in East Tytherley

Deep Cleaning Terracotta Kitchen Tiles in East Tytherley Read More »

Deep Cleaning Terracotta Kitchen Tiles in Salisbury

Deep Cleaning Terracotta Kitchen Tiles in Salisbury

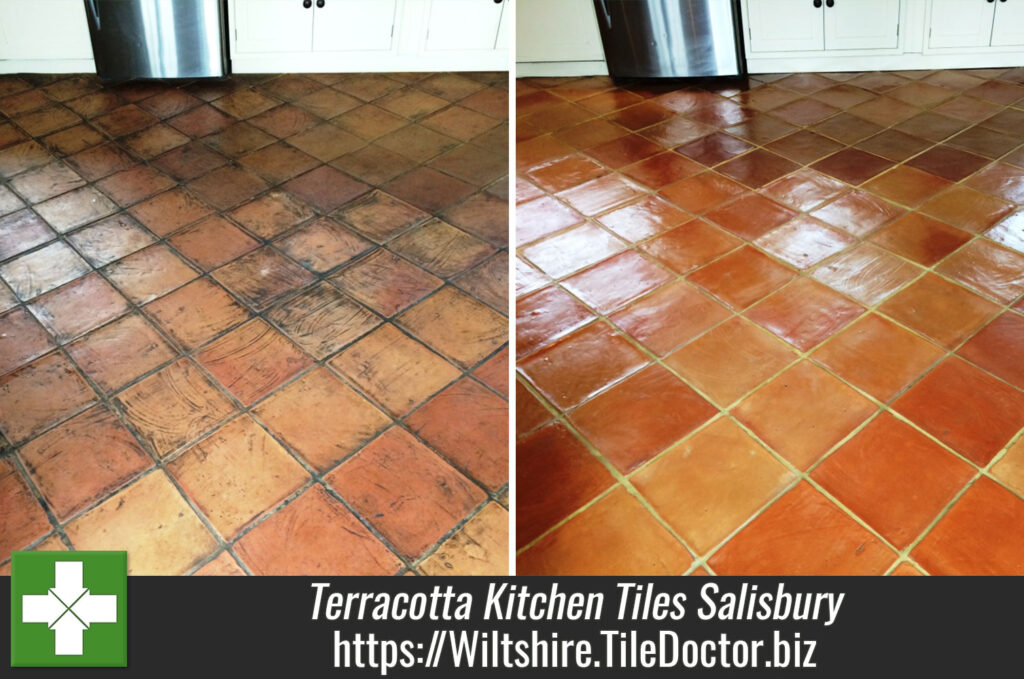
This customer in Salisbury was having difficulty bringing their Terracotta tiled
kitchen floor
back to the condition it was in when it was first laid. Upon
inspection it was evident that the sealer on the floor had failed and dirt had become
ingrained into the pores of the tile making it difficult to clean and causing it to
become increasingly dirty over a period of time.

Terracotta Tiled Floor Salisbury Before Cleaning

Terracotta Tile Cleaning

We started by cleaning the floor with a strong solution of Tile Doctor Pro-Clean
mixed 50/50 with Nanotech Ultra Clean which has the effect of adding tiny abrasive
particles to an already effective alkaline cleaning product that is safe to use on Tile,
Stone and Grout. The solution was scrubbed into the grout first using a stiff grout
brush and this powerful combination made the removal of ingrained dirt much
easier to achieve. The next step was to use a black scrubbing pad on a rotary
machine to clean the tiles. Once I was happy with that the tile and grout was clean
the now dirty cleaning solution was removed using a wet vacuum and he floor then
thoroughly rinsed with cold water using a deck brush to make sure that any product
residue was removed. We then repeated the process for any stubborn stains and
give the floor another cold water rinse to finalise the cleaning process again using a
wet vacuum to remove as much water from the floor as possible to reduce drying
times.

Terracotta Tile Sealing

We left the floor to dry for seven days due the porosity of the terracotta. Upon our
return we gave the floor a damp test to confirm that the floor was dry enough to be
sealed. The test confirmed the tiles had dried and so the Terracotta was sealed using
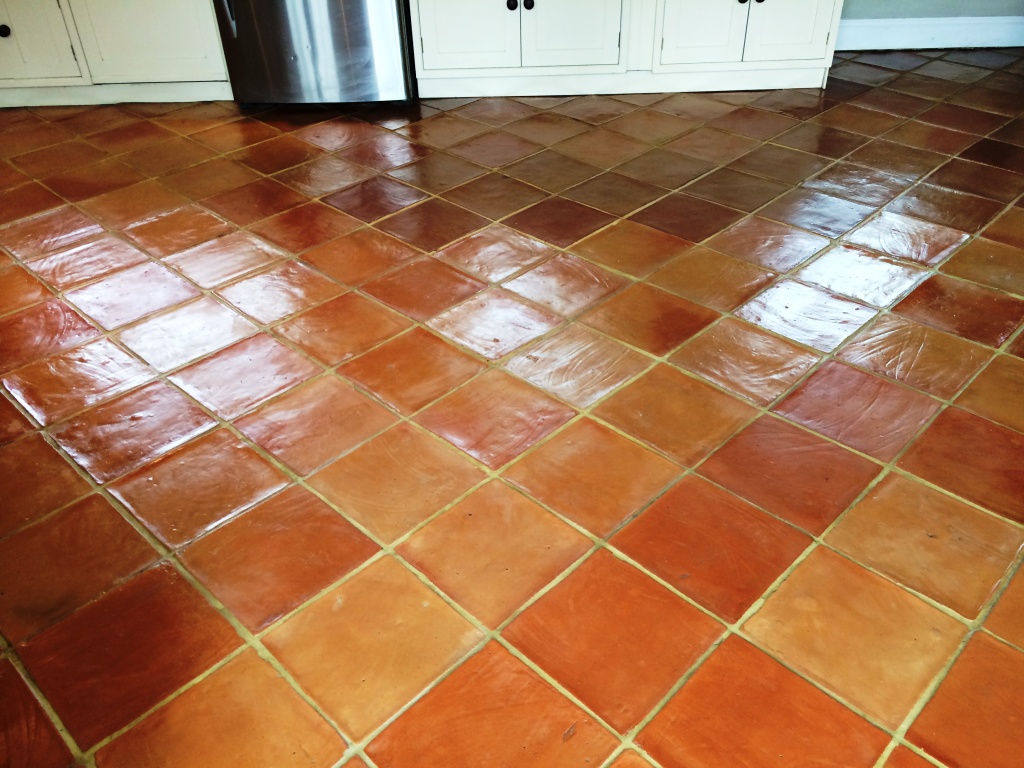
seven coats of Tile Doctor Seal & Go which enhanced the colour and shine on the
floor but most importantly will give the floor the protection it needs.

Terracotta Tiled Floor Salisbury After Cleaning and Sealing
Before leaving I gave the customer some cleaning tips to prolong the life of the seal
and recommended in future they use Tile Doctor Neutral Tile Cleaner to clean the
floor going forward; unlike most acidic tile cleaning products you find in
supermarkets Neutral Clean does not degrade and reduce the life of the sealer with
use.

Terracotta Floor Cleaned and Sealed in Salisbury

Deep Cleaning Terracotta Kitchen Tiles in Salisbury Read More »

Scroll to Top